Create a new Concept map
Snapper:Author has some functionality to create concept maps. Snapper has a dedicated component (Snapper:Map), which can be accessed by clicking the “Snapper:Map” button at the top of the Snapper screen, however this section is dedicated to the Snapper:Author functionality.
You may need to be logged in with an author role depending on your terminology server security settings.
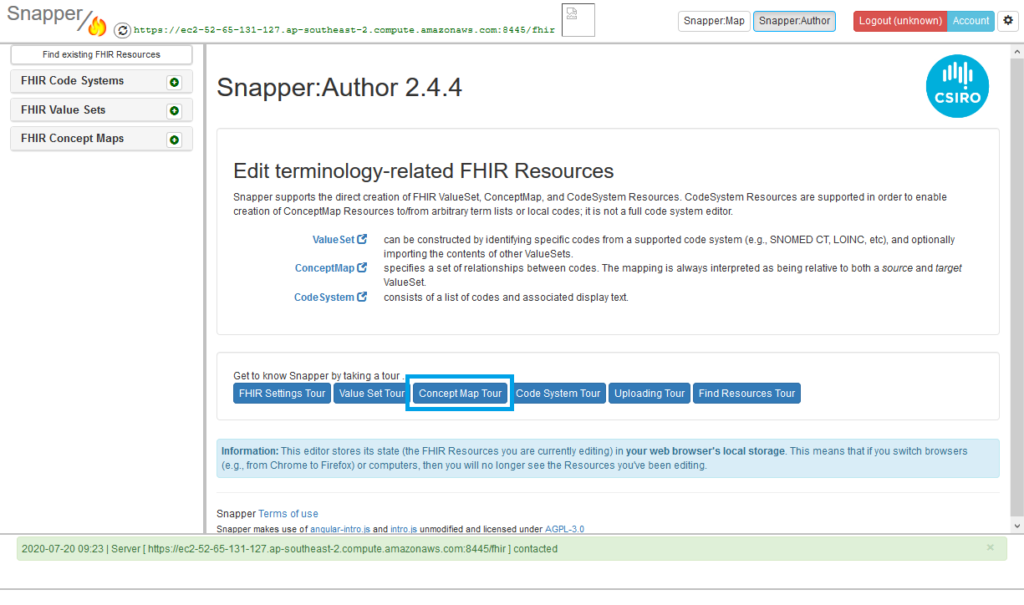
Snapper:Author does provide an in-tool tour which will walk you through building a new concept map or follow the instructions below
To create a FHIR Code System:
- NOTE: when creating a concept map, source and target Code Systems and Value Sets must be specified. For instructions on how to create code systems and value sets see How to create a new Code System and How to create a new Value Set
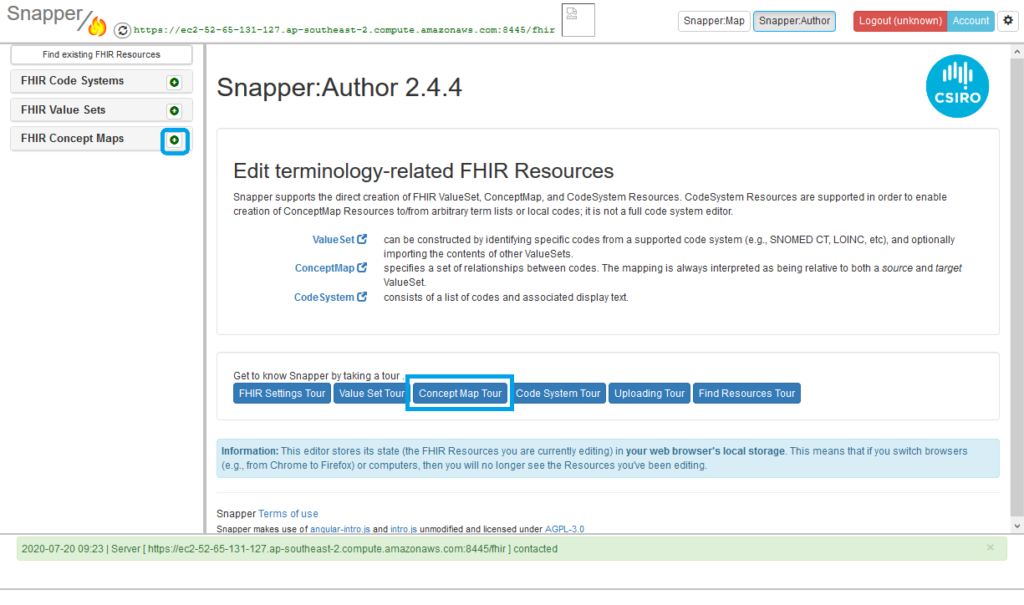
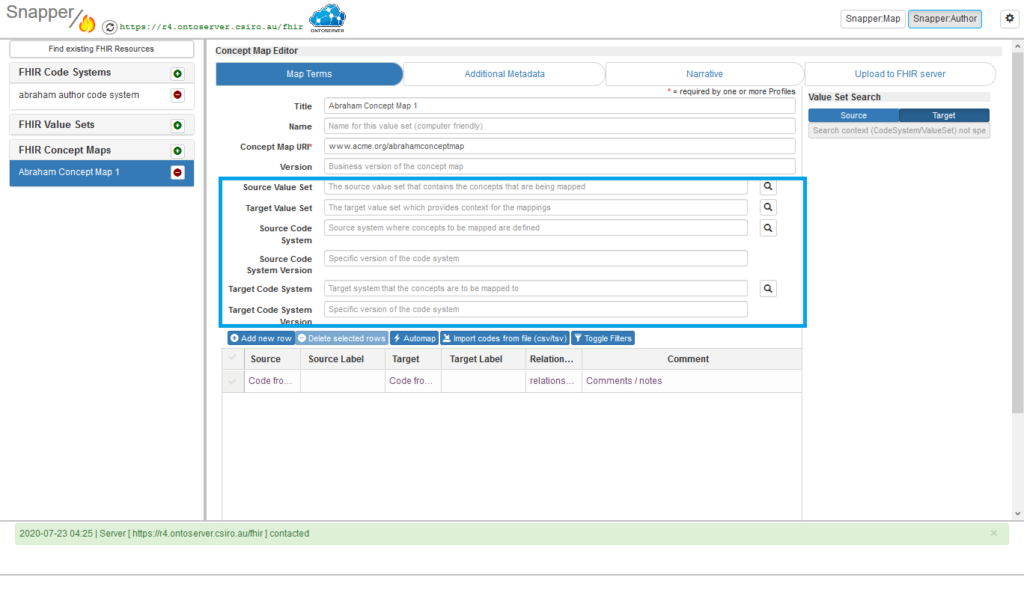
- Click the green plus sign on the left next to “FHIR Concept Maps”
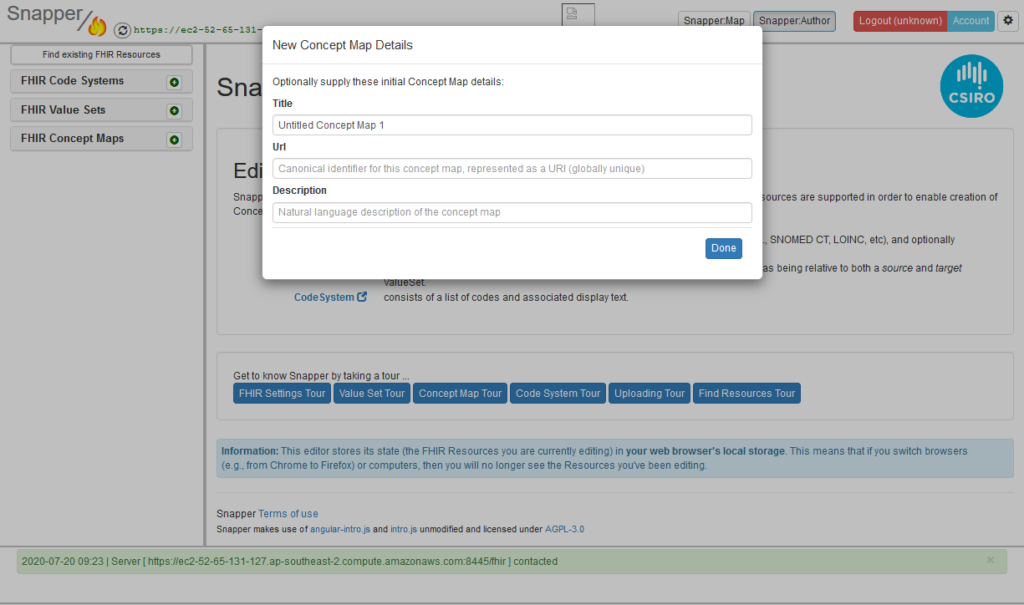
2. In the pop up, fill in your metadata and click “Done”
For more information about FHIR metadata see https://hl7.org/fhir/R4/conceptmap.html
3. Enter the details of your source and target code systems and value sets.
Note: you must enter Source code system, source value set, target code system and target value set.
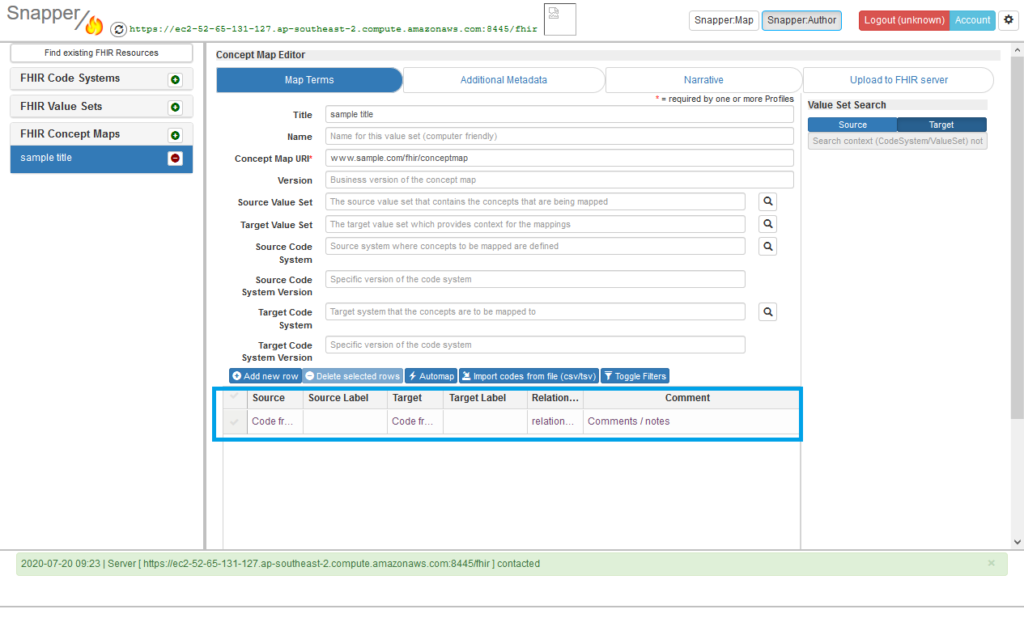
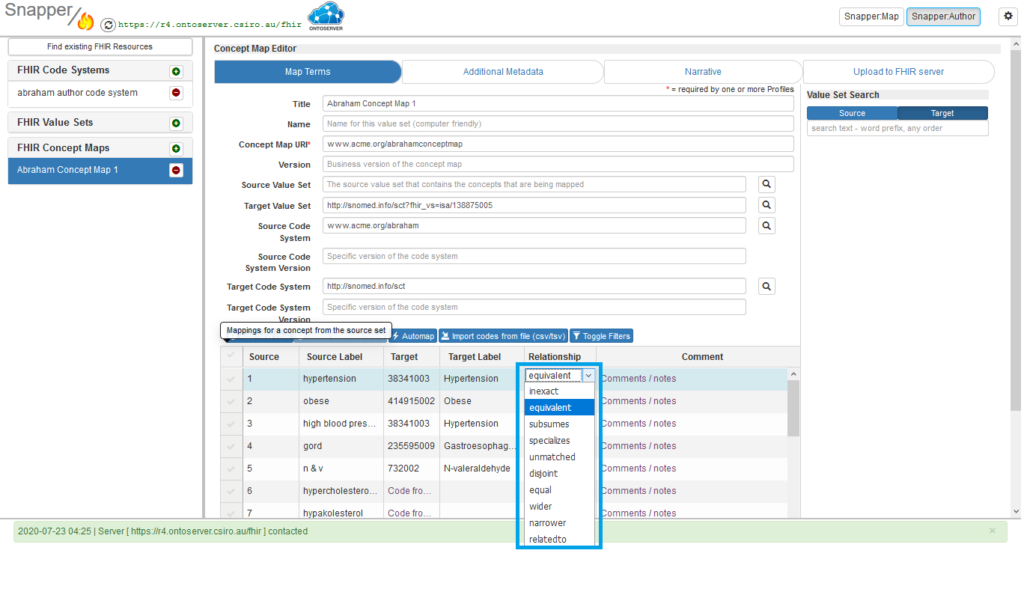
4. From this next screen, you can add codes to the concept map. You can do this by one or more of the following steps:
a) Manually entering the mapping – source and target codes one by one. You can do this by using the table at the bottom of the screen to record the details
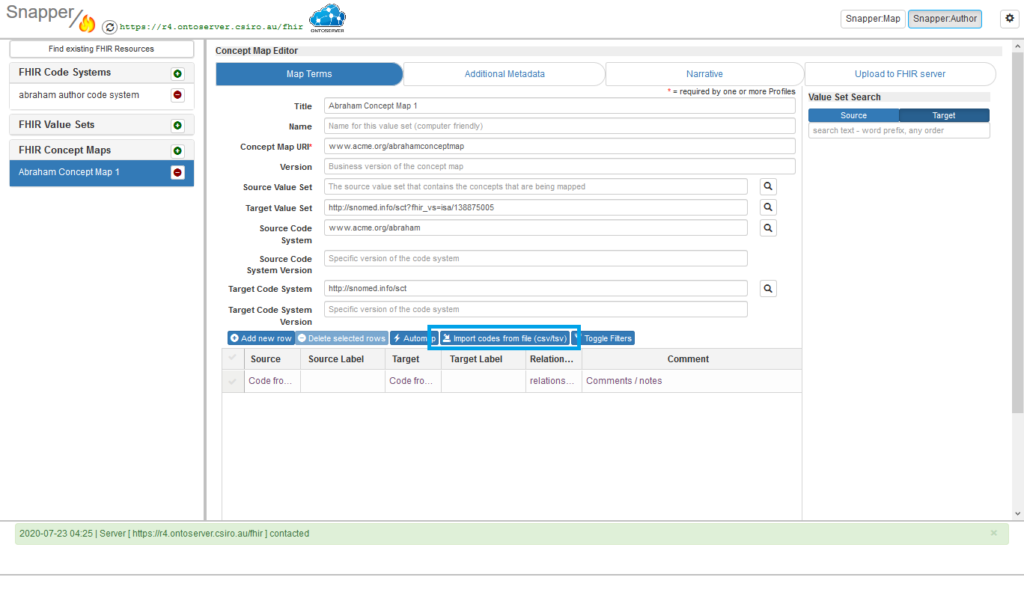
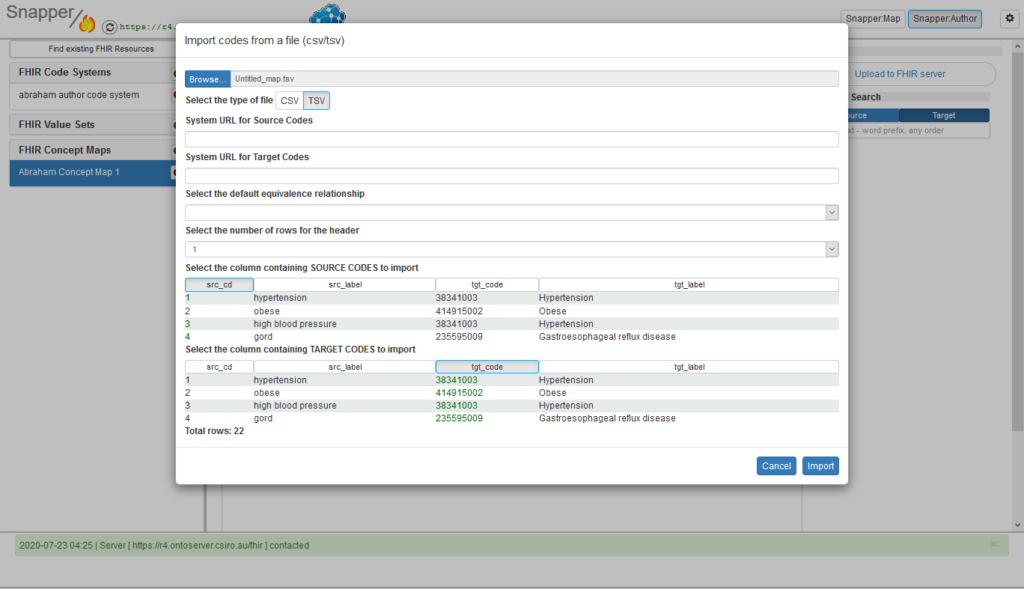
b) Upload codes using a csv or tsv file. There is an import wizard to allow you to import source and/or target codes – Snapper will extract labels from the code systems specified.
c) Add in target codes by searching the target code system using the search bar on the right, and drag and dropping the results into the table

5. Update the Relationship type for each mapping line as required
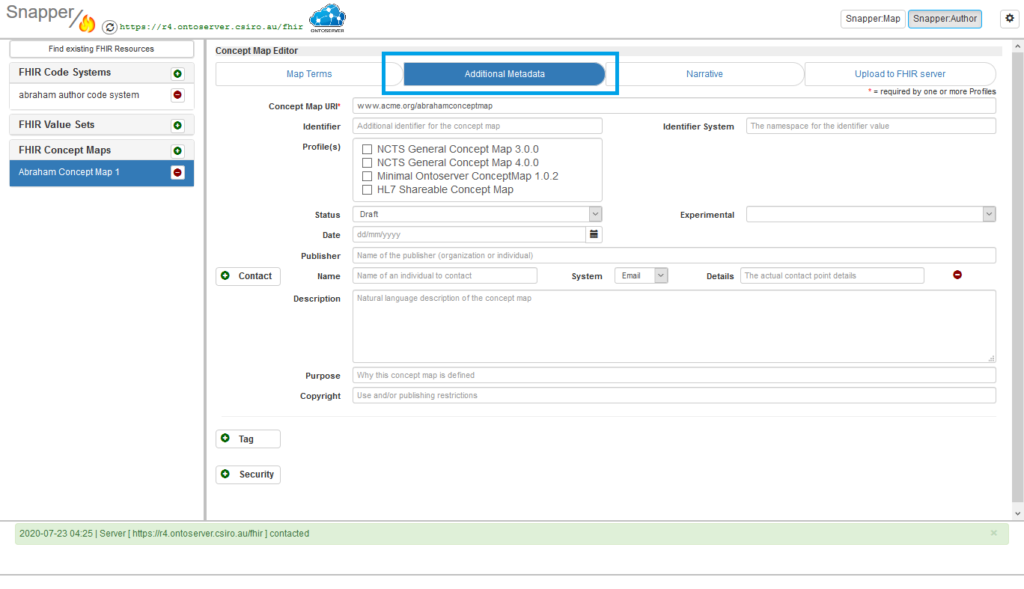
6. Once your map is complete, enter any additional metadata in the “Additional Metadata” tab
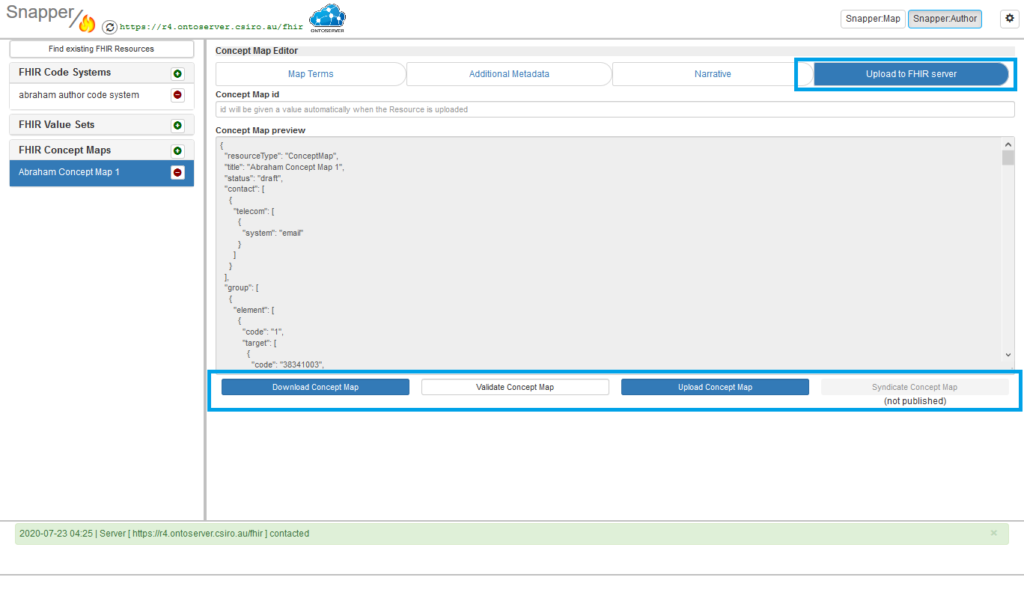
7. In the “Upload to FHIR server” tab, depending on your permissions, you can
– Validate your concept map
– Download your concept map in a JSON representation
– Upload your concept map
– Syndicate your concept map (requires “Approver” permissions)